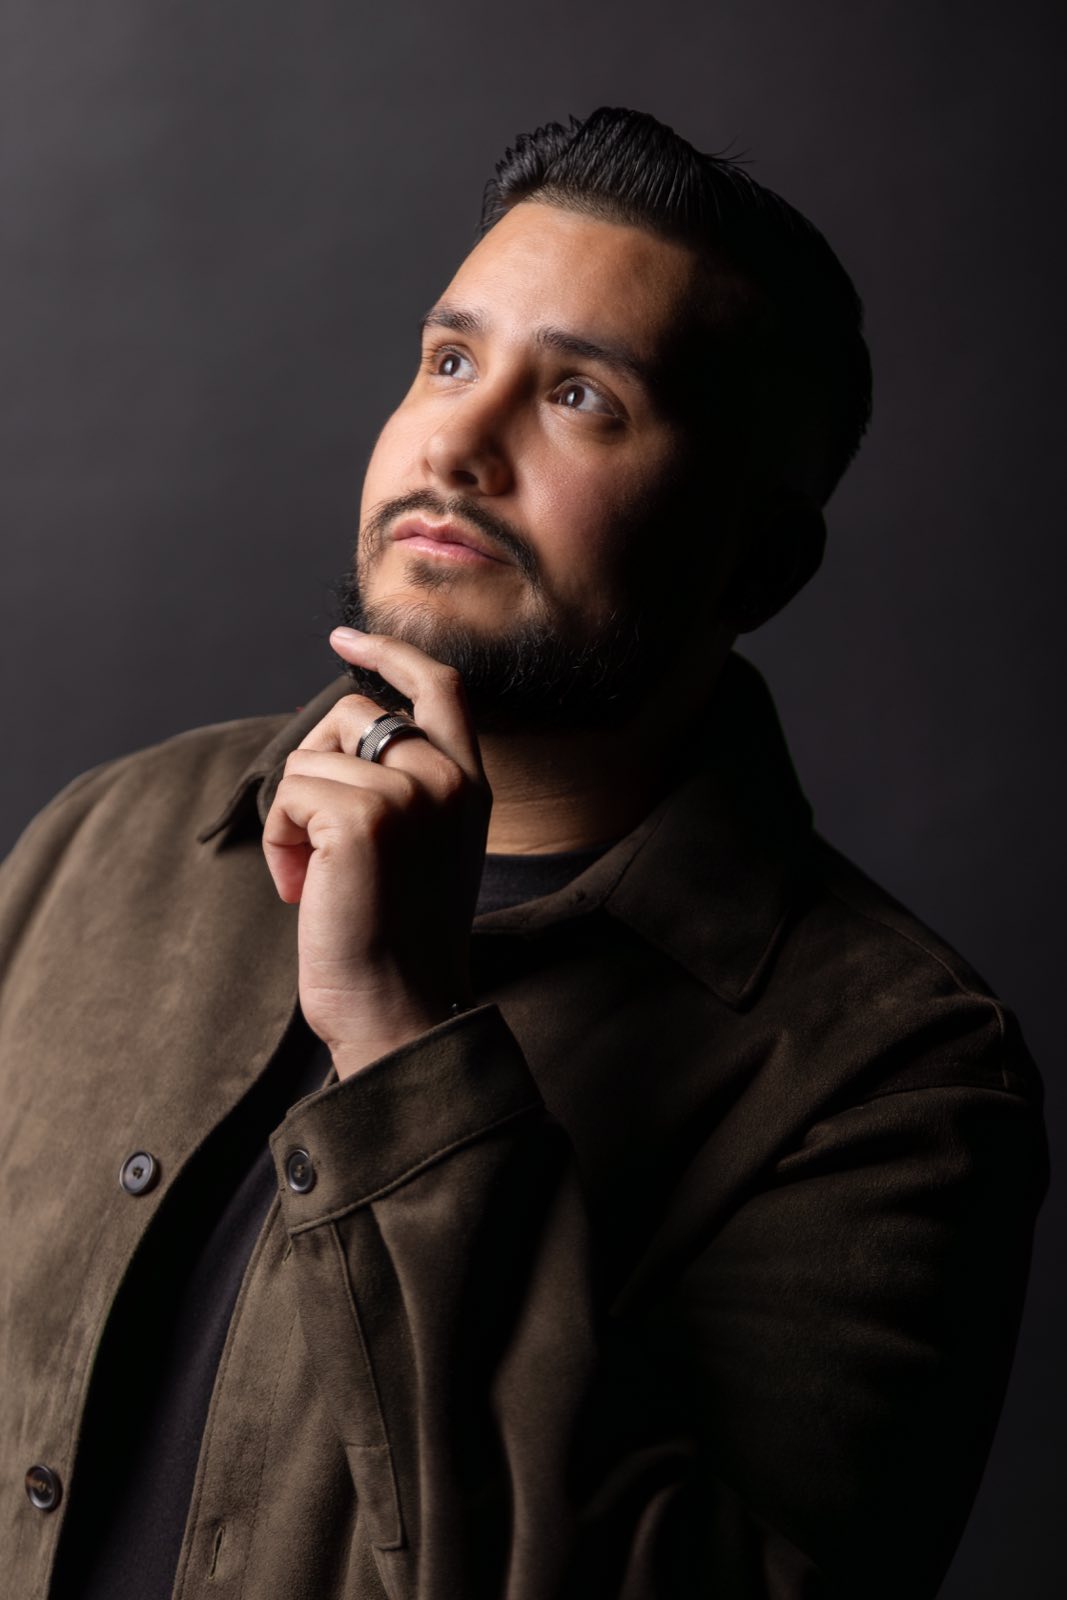
Mastering Natural Light Photography in Southern California: A Guide to Capturing Stunning Images Year-Round
A client texts at 11am: "Can we push the shoot to noon, I've got a lunch thing." Every photographer who's shot outdoors in Southern California knows exactly what that message means — flat overhead sun, shadows carved under every eye socket, and a location that looked perfect at 8am now looking like a parking lot. You either know how to fix that on the spot, or you reschedule and eat the cancellation. This guide is about not having to reschedule.
By Loren Anderson · August 8, 2026 · 42 min read
The Golden Hour Isn't the Only Window You Have
Golden hour gets all the attention because it's easy to sell: warm light, long shadows, everything looks cinematic. In San Diego that window runs about 45 minutes after sunrise and before sunset — call it 5:45am to 6:30am in July, tight and unforgiving if you've got a crew of six and a client running late.
What most SoCal photographers don't advertise is the second window: overcast coastal mornings. From late May through August, a marine layer rolls in most nights and doesn't burn off until 9 or 10am. During that stretch, the entire sky becomes one massive softbox. You get even, shadowless light for three to four hours instead of 45 minutes.
I've built entire commercial shoot days around this. A restaurant client in Encinitas needed twelve dishes and four lifestyle shots in one morning last June. Golden hour alone never fits that scope. We started at 7am under marine layer, wrapped by 10:30, and never touched a diffuser because the sky was already doing the job.
The practical move: check the marine layer forecast the night before, not the morning of. If it's socked in, you've got hours, not minutes. If it's a clear October morning, you're back to the traditional 45-minute golden window and need to plan tighter.
Why the Marine Layer Is a Gift, Not a Curse
New photographers moving to San Diego treat marine layer as bad luck — gray sky, no drama, cancel the shoot. That's backwards. Direct sun is a single hard light source that creates contrast you then have to fight with reflectors, flags, or fill flash. A marine layer sky is already diffused, which is the exact effect photographers pay for softbox rental gear to fake indoors.
The tradeoff is contrast and color saturation. Overcast light is flatter and cooler, so skies read white instead of blue and images can look a little muted straight out of camera. Two fixes handle this every time: shoot in RAW and push contrast plus warmth in post by 8-12 points, and frame tighter on subjects so a washed-out sky isn't eating a third of your composition.
For product and food photography specifically, marine layer light is close to ideal. No hot spots on glass or ceramic, no blown highlights on shiny surfaces. If you're shooting anything reflective — jewelry, glassware, cars — request the overcast slot on purpose instead of treating it as a weather delay.
For more on reading soft light conditions specific to this region, see our breakdown in Mastering Light in Southern California, which goes deeper into metering for diffused skies.
Reading Light Direction Before You Pick a Location
Most location scouting mistakes come from picking a spot based on how it looks in someone else's Instagram post, shot at a completely different time of day. A wall that glows amber at 6pm can be a flat gray slab at noon. Direction matters more than the location itself.
Before any outdoor shoot, I check sun position with PhotoPills or Sun Surveyor the night before, not that morning. Both apps show exactly where the sun will sit relative to any address at any time, which tells you whether your subject will be backlit, front-lit, or sidelit before you've packed the car.
A few rules that hold up across hundreds of SoCal shoots:
Get in the habit of scouting new locations at the actual time you'll shoot there, not a convenient time during the week. A spot that's perfect at 4pm on a scouting trip might be unusable if the real shoot is booked for 11am.
Shooting Midday Without Ugly Shadows
Not every shoot gets to pick its time slot. Corporate clients book lunch-hour headshots. Real estate agents need listing photos whenever the house is empty. You need a midday plan that doesn't depend on rescheduling.
Open shade is the answer nine times out of ten. Move your subject under an awning, a tree canopy, a parking structure edge, or the shadow side of a building, and you eliminate the overhead shadows that ruin midday portraits — the dark eye sockets, the shadow under the nose, the general "squinting into the sun" look. The subject is still lit by ambient daylight, just not direct sun, which softens everything.
In Gaslamp Quarter, the alleyways between 4th and 6th create natural light tunnels — walls block direct sun most of the day but bounce plenty of ambient light in, which makes them one of the few downtown spots that work at noon. In La Jolla, the sea caves area and shaded coves near La Jolla Cove offer the same effect with a coastal backdrop.
When there's zero shade available — an open field, a rooftop, a beach with no structures — turn your subject's back to the sun and use a reflector to bounce light into their face. It's the opposite of intuitive (most people want to face the sun) but it's the difference between a squinting subject and a clean, evenly lit one. We cover reflector technique in more detail in the gear section below.
A Location-by-Location Light Guide for SoCal
Different SoCal locations behave differently depending on orientation, elevation, and structures nearby. Here's what I've learned running shoots across the region for the past several years:
For a deeper walkthrough of coastal portrait spots specifically timed to golden hour, our piece on Southern California golden hour portrait photography breaks down exact timing at several of these same locations.
Camera Settings That Actually Match Natural Light
Gear talk is overrated in natural light work, but a few settings decisions matter enough to walk through. Auto white balance is unreliable under marine layer and open shade — both skew blue, and auto WB tends to overcorrect and make skin tones look sickly. Set a custom white balance around 6500-7000K for overcast days and dial it in per shoot rather than trusting auto.
For metering, spot metering off the subject's face beats matrix/evaluative metering in high-contrast scenes — think a subject standing in open shade with bright sun visible behind them. Matrix metering will average the whole frame and underexpose your subject trying to compensate for the bright background.
Aperture choice depends on the story you're telling, not a fixed rule, but a starting point that works for most portrait work in bright SoCal conditions is f/2.8 to f/4 — wide enough for separation from background, narrow enough to keep both eyes sharp. Shutter speed should stay above 1/250 for handheld work in bright daylight to avoid any motion softness, especially with kids or pets who don't hold still.
ISO in daylight is almost always at base (100 or 200) unless you're deep in open shade under heavy tree canopy, where bumping to 400-800 keeps shutter speed reasonable without needing flash.
Reflectors, Diffusers, and Bounce — the Low-Tech Fix
A 5-in-1 reflector kit costs $30-40 and solves more midday lighting problems than any lens upgrade will. The five surfaces — white, silver, gold, black, and translucent — cover almost every natural light scenario you'll run into outdoors.
White bounces soft, neutral fill light into shadows — safest default for skin tones. Silver bounces more intense, higher-contrast light, useful on overcast days when you need extra punch. Gold adds warmth, which works well for golden hour supplementation but can look artificial if overused in midday shade. Black subtracts light, useful for adding shadow definition back into a face that's getting flat, shadowless light from every direction. The translucent panel diffuses direct sun, turning a harsh midday ray into soft, even light — essentially a portable marine layer you can deploy anywhere.
On a shoot at Coronado last spring with zero cloud cover and a noon call time, we used the translucent diffuser held overhead by an assistant, six inches out of frame, and it took what would've been unusable raccoon-eye light and turned it into clean, even portraits. No flash, no strobe, $40 in gear.
One rule worth internalizing: reflectors work by redirecting existing light, not adding new light. If there's no light hitting your reflector in the first place — deep shade, indoors away from windows — a reflector won't help and you need actual fill flash instead.
How SoCal Light Changes Across the Seasons
Southern California's light shifts more across the year than most people assume, even without the dramatic seasons other regions get. Understanding the pattern lets you plan shoots months out instead of hoping the day cooperates.
Winter (December-February) puts the sun lower in the sky for a much larger portion of the day. Instead of a short golden hour bracketed by harsh overhead sun, you get several hours of flattering, directional light — often the best portrait light of the year, even though it's technically the "off season" for outdoor shoots. Days are shorter, so total shooting time is less, but the quality per hour is higher.
Spring (March-April) is the most unpredictable — clear mornings, marine layer some days, Santa Ana wind events that clear the air and make distant mountains visible from the coast, which can be a striking background element if you plan for it.
Summer (May-August) brings consistent marine layer mornings, discussed earlier, plus the year's harshest midday sun once it burns off — often not until 10 or 11am on the coast, later inland. Coastal shoots benefit from the marine layer window; inland shoots (Escondido, El Cajon, Temecula) don't get that relief and need shade planning from sunrise.
Fall (September-November) tends to have the clearest, most reliable skies of the year with minimal marine layer, which means a return to tighter golden hour windows but very consistent, predictable conditions for scheduling shoots weeks in advance.
Common Natural Light Mistakes and What to Do Instead
The same handful of mistakes show up across almost every natural-light shoot that goes wrong. Knowing them in advance is faster than fixing them on location.
Shooting with the subject facing directly into the sun causes squinting and harsh shadows under the brow — turn them around and use a reflector instead. Trusting a location because it looked good in a photo taken at a different time of day — always verify at your actual shoot time. Ignoring the marine layer forecast and scheduling a tight 45-minute golden hour window on a day that turns out overcast until 10am — check the forecast the night before and build in flexibility.
Another frequent one: over-relying on auto white balance in mixed light, like a subject standing partly in open shade and partly in direct sun spilling through a gap in trees. That mixed lighting confuses auto WB and creates a color cast that's hard to fix uniformly in post. Reposition the subject into fully even light — all shade or all sun — rather than half and half.
Last one, and it's a scheduling mistake more than a technical one: booking back-to-back outdoor shoots at different locations without accounting for how fast light changes between them. A 20-minute drive between a 9am shoot and a 9:45am shoot at a different address can mean the difference between usable marine layer light and direct sun, depending on which way the coast curves. Build in buffer time and check conditions at each location separately.
Building a Repeatable Light-Scouting Workflow
Consistency comes from process, not talent. The photographers who deliver reliable results shoot after shoot have a scouting routine they run every single time, not a mental checklist they sometimes remember.
The night before any outdoor shoot: check the marine layer/cloud forecast for the shoot time specifically, not just "tomorrow's weather." Check sun position and direction using PhotoPills or Sun Surveyor for the exact address and time. Confirm whether the location has shade options if the forecast is wrong and the sky clears faster than expected.
On arrival, walk the location before unpacking gear. Note where shadows currently fall and where they'll be in 30 minutes — shadows move faster than people expect, especially downtown between tall buildings. Identify a backup spot within a two-minute walk in case the primary location isn't working the way it looked on the scouting app.
After the shoot, log what worked — location, time, conditions, settings — somewhere you'll actually reference again. A simple spreadsheet with columns for location, date, time, sky condition, and notes turns into a personal location guide after a year of shoots, and it's more useful than any generic guide because it reflects your actual gear and your actual clients.
This same discipline — plan ahead, verify on site, document afterward — is the difference between a portfolio built on luck and one built on a system. If you're building out a broader content strategy around your photography work, our guide on candid photography for brand authenticity covers how to turn consistent natural light work into a recognizable style clients specifically request.
What to Do With Your Next Shoot
Pull up the marine layer forecast for your next outdoor shoot right now, not the morning of. If it's clear, plan a tight golden hour window and pick a location with built-in shade for the hours around it. If it's overcast, you've got a three-to-four-hour window most other markets don't get — use it for the shots that need even, consistent light, like product or food work.
Either way, buy a $40 reflector kit if you don't have one. It'll get more use than most of the gear in your bag, and it's the single fastest way to fix the midday shoot you can't reschedule. For businesses building a full visual strategy around this kind of location-specific shooting, our client acquisition resources cover how consistent, well-lit content translates into inbound leads, not just nicer photos.
Questions
What is the best time of day for natural light photography in Southern California?
Golden hour (the hour after sunrise and before sunset) is the classic answer, but overcast mornings during marine layer season give you a much longer window — often 7am to 10am — of soft, even light without the harsh shadows midday sun creates.
How do you shoot portraits in harsh midday sun in San Diego?
Move your subject into open shade — under an awning, a tree canopy, or the shadow side of a building — and use a reflector to bounce light back into the face. This avoids raccoon-eye shadows from overhead sun while still using available light instead of flash.
Does the marine layer ruin outdoor photos?
No, it usually helps. The marine layer acts like a giant diffuser, softening direct sun into even, shadowless light. It's why coastal SoCal shoots in June and July often look cleaner than shoots on cloudless days in October.
What gear do I actually need for natural light photography?
A camera with reliable auto white balance, one lens you know well, and a 5-in-1 reflector. Most natural light problems are solved by repositioning your subject relative to the light source, not by buying new gear.
How far in advance should I scout a location for the light I want?
Check sun position and marine layer forecast the night before using an app like PhotoPills or Sun Surveyor combined with the NOAA marine forecast. Same-day scouting works for repeat locations you already know, but new spots need a dry run at the actual shoot time.
Is winter a good season for outdoor photography in Southern California?
Yes, often better than summer. The sun sits lower in the sky for more of the day between December and February, which means longer stretches of flattering, directional light instead of a short golden hour bracketed by harsh midday sun.
More from the studio